I went camping with some buddies a few years back, and as soon as we arrived, one of the men began carving a spoon. I quickly discovered that he does this every time he goes camping.
And I thought it was an exciting way to pass the time at the campground. I’ve often wondered how to carve a spoon and what tools I’d need. On the day, I got lucky because he handed me a spoon carving kit to start.
Since then, I’ve carved four or five, and while I’m no professional, I can teach you everything you need to start. Therefore, before you look for a sleeping bag online, let’s know the tips.
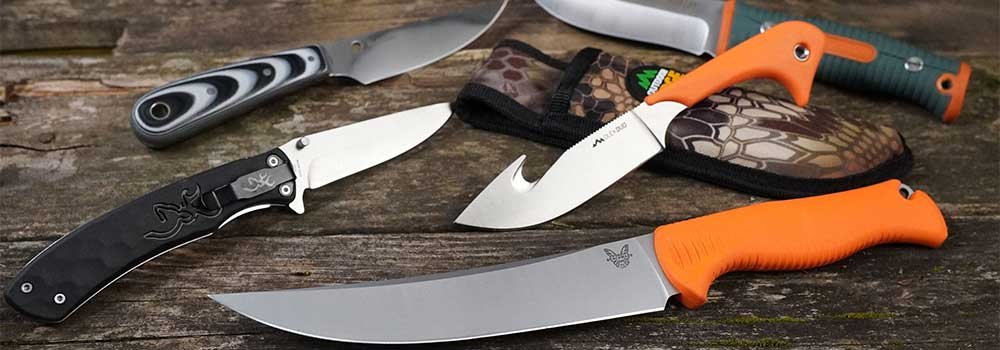
You’ll need a Straight Knife and a Hook Knife

To shape the concave section of the spoon, you’ll need the hook knife. This is surprisingly easy to do with a sharp knife. A straight knife will require for cutting the exterior of the spoon.
On Amazon, you can get one for around $20. These have also reasonably priced. I have a Morakniv that I enjoy. You can begin carving with these two knives.
But a strop and a tiny hatchet are also helpful in roughing projects. To maintain your blades razor-sharp, you have to hone them every 20 minutes or so. A little hatchet can easily remove vast amounts of wood.
Learn How to Make a Spoon
To learn how to carve a spoon quickly and easily, you’ll need green wood or something soft, like basswood. If you’re going to harvest greenwood, be sure you’re aware of the rules in your region.
A permit has required to take down living trees in some national forests. Hence, the most straightforward approach to accomplish this would be to ask a buddy who owns the land and wouldn’t mind you fell a tiny tree.
Birch and Aspen are popular spoon woods. If you wish to use basswood, you can get it at any hobby store.
Begin with a Bit of Piece of Wood (Diameter: 3′′-4′′)
You’ll finish it faster, and it’ll be a minor job. Split the wood in half using a baton (as seen in the video) or a small axe. Afterwards, quickly remove the wood around the handle with the axe.
Sand the Inside of the Spoon to Complete It
Begin with 220 grit and work your way up to 600 grit until the surface is smooth. I’ve been leaving the outside of my spoons unsanded since I enjoy the aesthetic and would instead go on to the next scoop than spend another hour sanding it.
I’m sure I’ll progress to a fully sanded spoon at some time. But for now, I’m focusing on experimenting with different spoon types. When you think your spoon is completed, rub it with linseed oil to preserve it.
The Bottom Line
Knowing how to cut a spoon at the camping has given my weekends a new, peaceful dimension. It’s something I can work on while still conversing with others. You can also enjoy hiking with the best hiking gadgets during the weekends.
But it also has a contemplative feel to it. I hope you give it a shot because I believe you’ll find it to be a highly gratifying activity as well.


