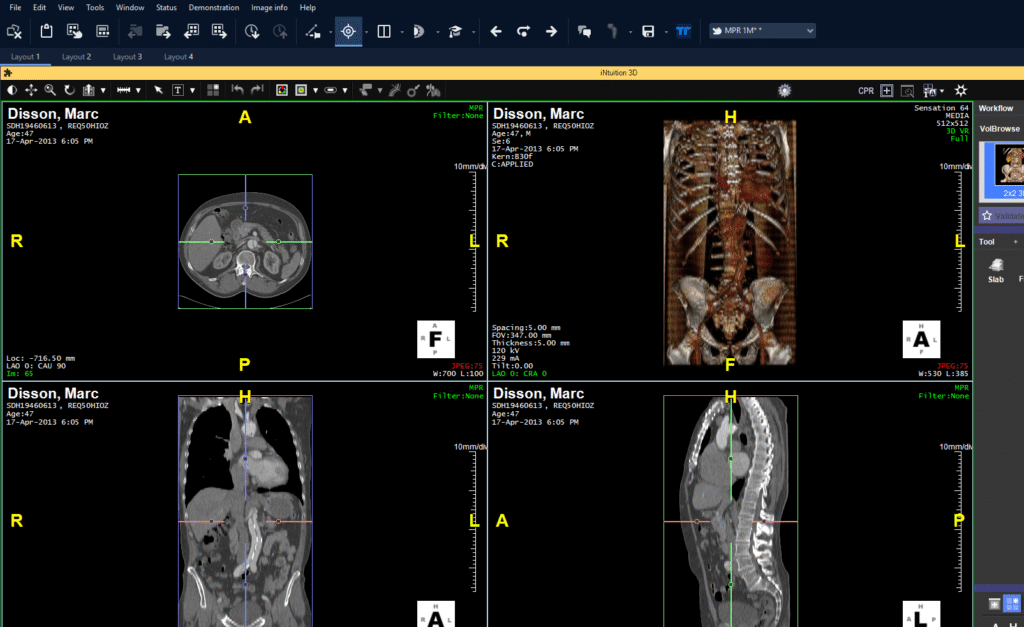
Imagine you’re a doctor who needs to send an X-ray to another hospital. You want it to get there fast, but you also need to keep it private.
In healthcare today, sharing radiology images—like X-rays, MRIs, or CT scans—is super important.
But it has to be done safely. That’s where radiology image sharing platforms come in.
These tools help you send images across networks without risking patient privacy. Let’s explore how you can do this the right way.
Why Secure Sharing Matters?
Patient privacy isn’t just a nice idea—it’s a must. Radiology images carry personal health details, and if they leak, it’s bad news.
Think identity theft or medical fraud. Experts say over 80% of healthcare data breaches involve medical images.
That’s why you need to take security seriously. If you don’t, you could face legal trouble or lose trust from your patients. Keeping those images safe protects everyone involved.
Choosing the Right Radiology Image Sharing Platform
So, how do you pick a tool to share images? It’s not hard if you know what to look for. First, check for encryption. This scrambles your images so only the right person can see them, like locking a door and handing out the key. Next, make sure the platform verifies who’s logging in.
A feature like two-factor authentication (where you get a code on your phone) is a big plus.
Also, it should follow healthcare laws, like HIPAA in the U.S., which keeps patient info private. A platform with these basics keeps your images secure.
How to Share Images Without Worry?
Once you’ve got a good platform, sharing images is pretty straightforward. Start by uploading your files to the system.
Use a secure internet connection—check for “https” in the web address to be sure. Then, decide who gets to see the images.
You can set it up so only certain people have access, like the specialist you’re working with.
After that, send them a secure link. They’ll need to log in to view the images, which keeps everything locked down tight. It’s a simple way to stay safe.
For example, picture yourself sending an MRI to a colleague. You upload it, pick who sees it, and send the link. They open it securely, and no one else can peek. That’s how it should work.

Mistakes You Should Skip
Even with a great platform, you can trip up if you’re not careful. One big no-no is sending images through regular email without protection.
It’s too easy for someone to intercept, like leaving your front door wide open. Another mistake is using your personal phone or laptop if it’s not secure. Hackers love unprotected devices.
And always double-check who you’re sending to. Sending images to the wrong person by accident can cause a huge headache. Avoid these slip-ups, and you’re golden.
A Quick Look at Sharing Options
Still unsure about the best way to share? Here’s a table to help you compare:
| Method | Security Level | Ease of Use | Cost |
| Encrypted Email | Medium | Easy | Low |
| Cloud Storage | High | Medium | Medium |
| Dedicated Platform | Very High | Medium | High |
Encrypted email is quick but not the safest. Cloud storage steps it up a notch, though you have to manage who gets in.
A dedicated platform offers top security, built just for healthcare. Pick what works for you, but don’t skimp on safety.
Wrapping It Up
Sharing radiology images doesn’t need to stress you out. With the right platform and some smart habits, you can keep everything secure.
Look for tools that encrypt your data, follow healthcare rules, and let you control access.
Skip risky moves like unprotected email, and always check your recipients.
When you focus on healthcare data security, you protect your patients and keep your network running smoothly. It’s all about staying safe while getting the job done.


